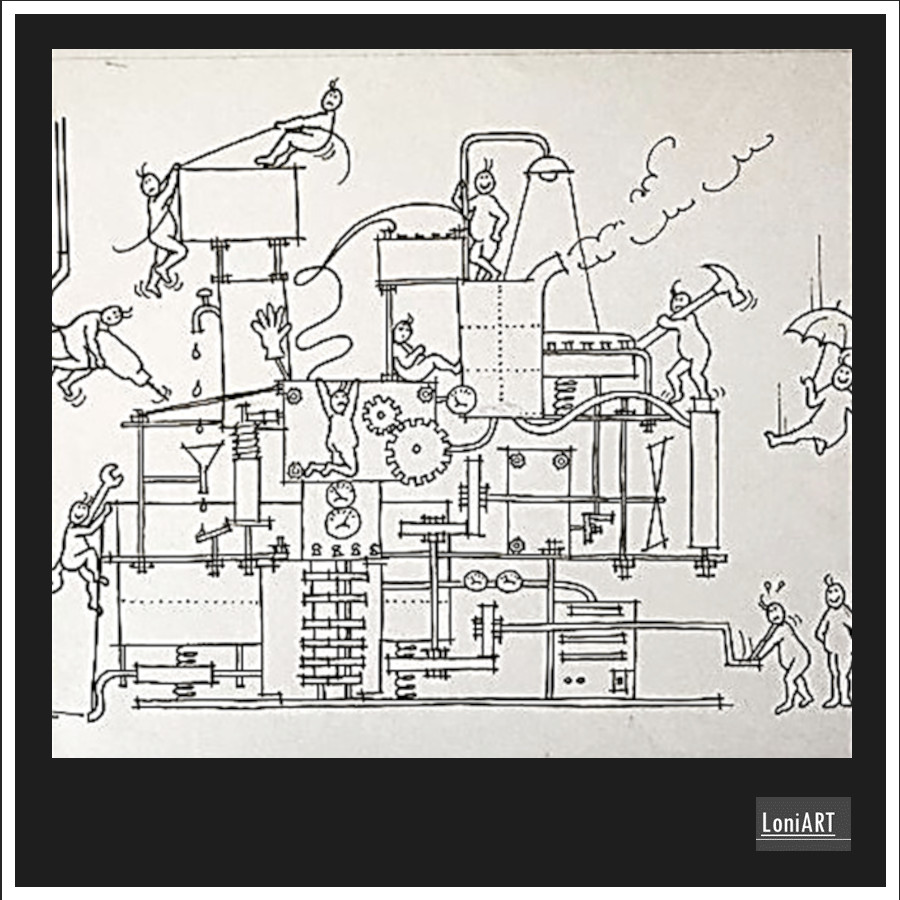
We explore below different types of drawings
Drawing above by Leonie Mulqueeney
Let us go on a drawing excursion!
We explore below different types of drawings
Drawing above by Leonie Mulqueeney
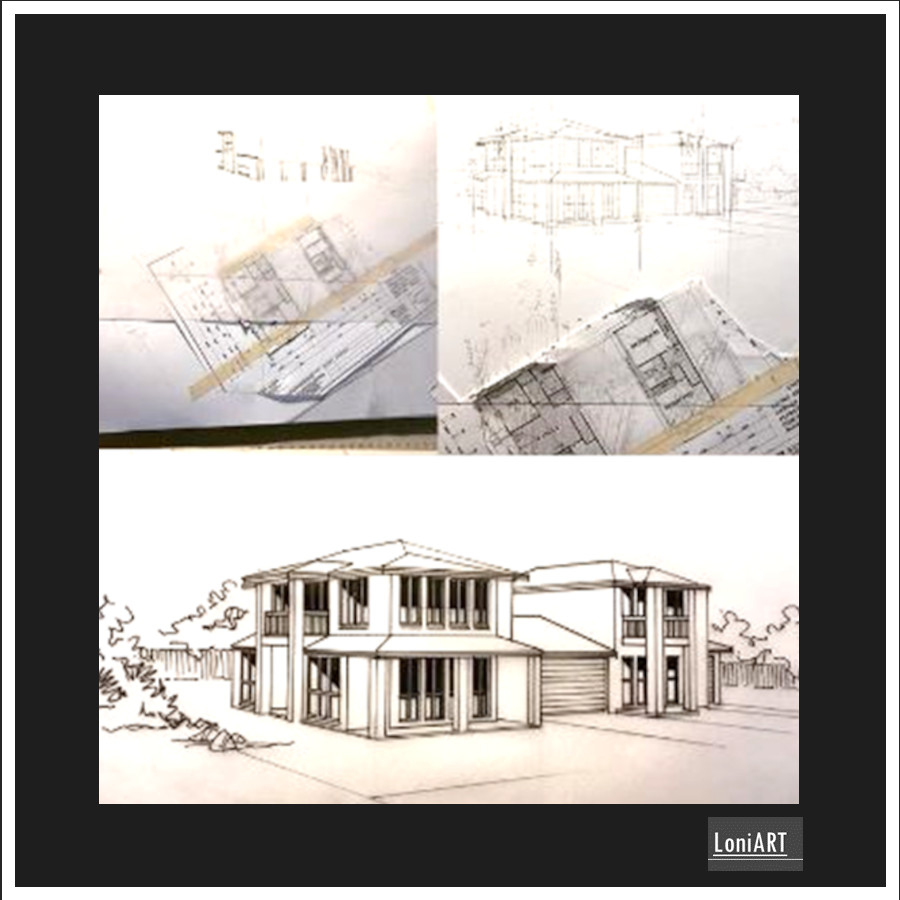
We can use drawings to communicate what we intend to make with instructions and dimensions.
Drawing by above Leonie Mulqueeney
We can also use presentation drawings to show a picture of what we intend to make to those who don't understand working drawings. Painting above by Jeanene Hyles
we can use the skills gained from technical drawing to create free form pieces.
sketch above by Jeanene Hyles
PLANS are the most common form of communication within the building industry.
The area required on the actual ground is displayed. The actual position of walls etc is determined.
Pictorial plans can be useful. Place images of furniture in the place, to become a mood board which depicts the concept to the client. CAD programmes allow you to place furniture to scale.
large projects have a grid system placed through the plan. This allows communication to become easier. Eg place centre of table at E7
An ELEVATION is the most intuitive way to show an item. It is the walls of a space.
An elevation of an outside of a building is a quick way of presenting information
Elevations are useful within the working drawing set as it shows heights.
They are also useful for client presentations
If you ask a young child to draw their room, they will usually draw in elevation without perspective - as did primitive man.
A SECTION is a ‘cut’ through a building, or item.
This shows more detail than an elevation section as it shows thickness of horizontal and vertical elements.
DETAILS are drawn at at smaller scale, often 1:1 or even magnifying an item.
DETAILS of the structure are important as they enable the builder to see how the designer wants the components to be put together, and what the final result should be.
A PERSPECTIVE IS one form of presentation drawing - 3 Dimensional space conveyed on a 2 dimensional surface
Lines can converge to 1 point, 2 points or 3 points
A PERSPECTIVE CAN BE ONE POINT - THE LINES GO TO ONE POINT
THE VERTICAL AND HORIZONTAL LINES ARE STRAIGHT
the eye is at the point where all converges
A 2 POINT PERSPECTIVE HAS THE LINES GOING TO 2 POINTS
The most common is when the 3rd lines are all vertical -this is the most realistic as the eye height of the viewer is on the horizon
the most common perspective is 2 point
see Jeanene's 1970s kitchen water colour design above
A manual perspective drawing is an art! See Leonie's work under way above.
A 3 point perspective has the eye level looking down or up for the third point
This view is great for impact - but is not commonly used
Leonie looks up - and the building looks smaller at the top
Stephen looks up - and the building looks smaller at the top
Elevation or plan oblique
Often called ‘axonometric'
Usually the front elevation or plan drawn at 90° - then lines drawn at 45° to indicate depth of the other view of the elevation. These lines are drawn to the actual length - they are not “eye” adjusted.
Traditionally this view is used to draw a cube.
All vertical lines are drawn perpendicular to the base line.
AN AXONOMETRIC DRAWING
Three sides of a 3D object can been seen in a 2D format.
often using a 90 degree angle, but it can be any angles.
Jeanene's axonometric drawing of an office looks like a birds eye view.
when you photograph an object, if you capture 3 sides, it shows the piece in so much detail.
AN ISOMETRIC
horizontal lines drawn at 30°, and 30°, to the actual length
The lines are not eye adjusted.
All vertical lines are drawn perpendicular to the base line.